 This is THE BEST dairy-free cauliflower crust recipe EVER!!
I have not had to try too many recipes or variations as I came across this one pretty much first thing! I decided to give it a try because, while I LOOOOOVE CHEESE (other recipes have cheese in the cauliflower crust)…I wanted a healthier less calorie/fat version to eat! If you love thin crispy crust…my additions like chia, hemp and flax make it crispy, firm and AMAZING!
What you need:
1 Head of Cauliflower, 1 Egg, Spices (I used Italian mix, you can use sea salt & pepper), Chia, Hemp Or Flax Seeds (if you want)..that’s all for the crust! Toppings are all up to you!
Cheese, no cheese, sauce, no sauce…get creative! My Husband prefers sauce because without it the crust tastes a smidge like cauliflower…shocker right? But I like it with olive oil. Hence, the half and half picture at the end of this article ;D
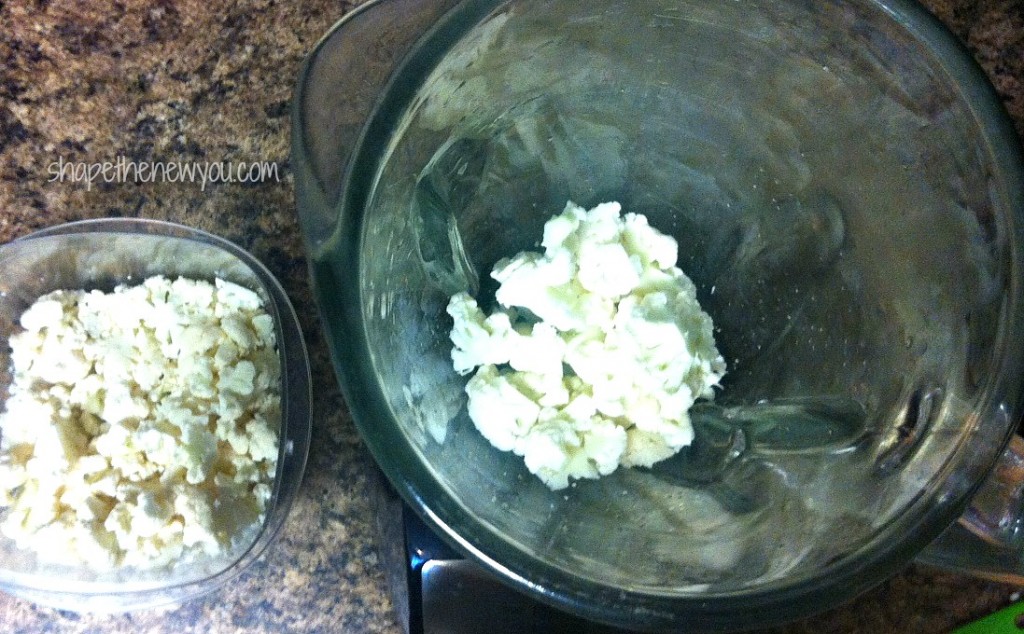
First off, you don’t need the stem at all so cut all the cauliflower blooms off into a bowl. You can only pulse a small bit of them in the blender FYI. I figured this out by painfully long trial and error haha! So take my word, just only do a few blooms at a time. Pulse into “snow flakes”.
2nd: Once you have done the whole head (one crust), place in microwave for 4 minutes.
3rd:Pull out STEAMING HOT<—cauliflower and spread out on a tea towel. Leave there for at least 15 mins until it not too hot to touch. Trust me, wait as long as you can per the next step! ;D While waiting preheat oven to 400F.
4th: Pull up all sides of the tea towel and wring the hell out of the cauliflower. Keep wringing until there is almost no water coming out of the tea towel…Wring, Wring, WRING! (I usually get about 1/4c liquid out) This will ensure that its crispy in the end!
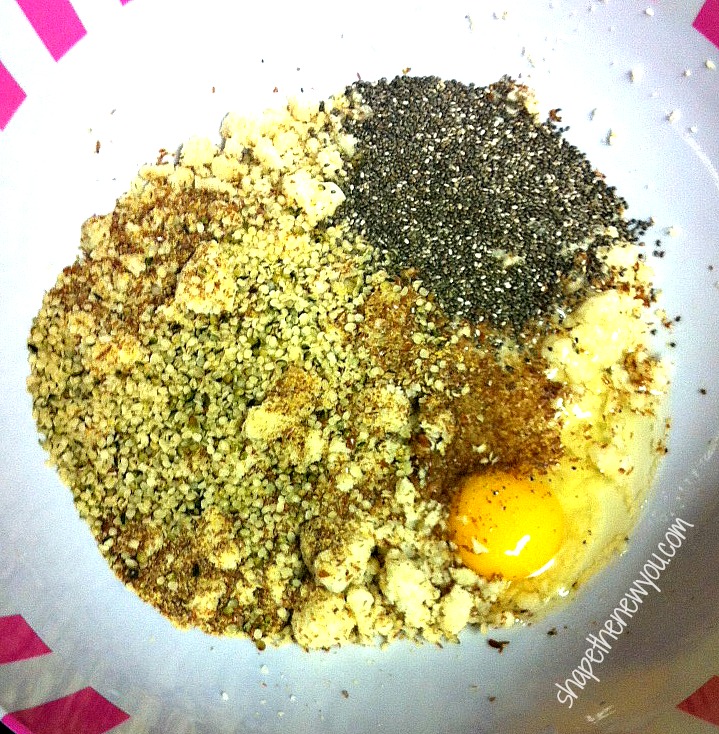
5th: Place dry cauliflower in a large bowl and add 1 egg, spices or sea salt & pepper (I put Italian seasoning in there), and if you want an extra crunchy seedy crust like mine add Chia, Hemp and or Flax! I just eyeballed.. but they probably were around a 1/8 cup each. Mix with your hands until mixed all together!

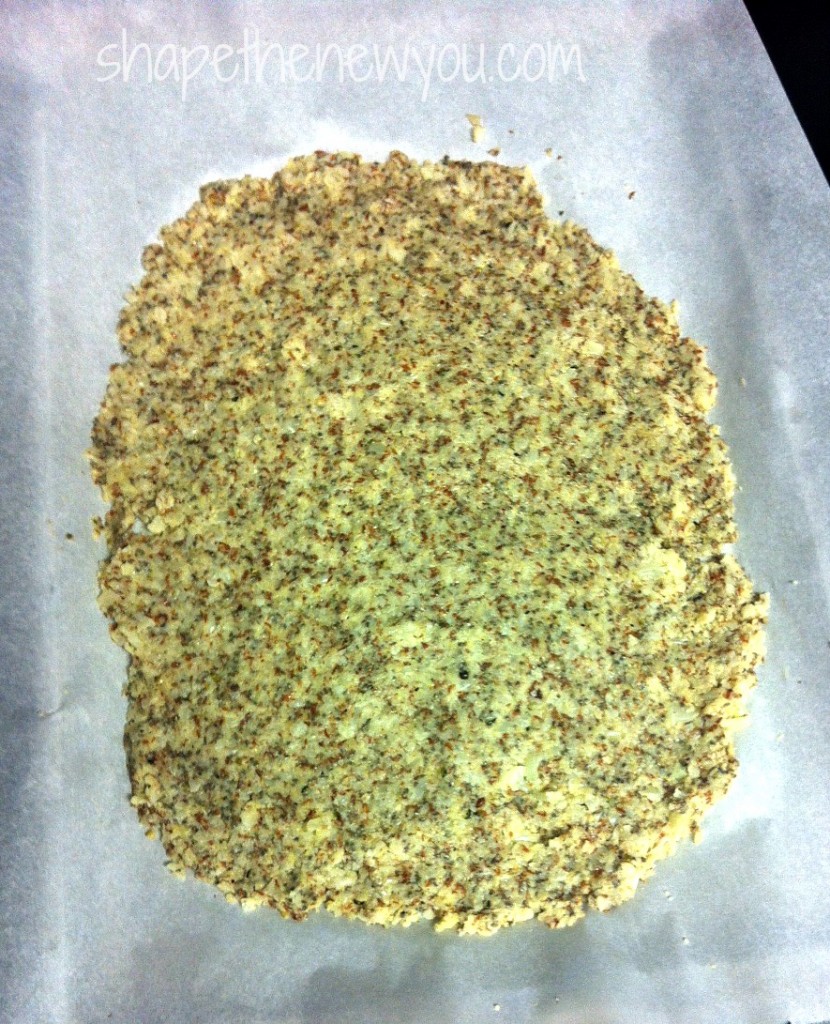
6th: Make a huge ball and transfer to your parchment covered baking pan. Then spread it out across the pan with your palms. Push down to approximately 1/4 inch. I wing alot of things in my kitchen lol but, you can see in the picture just how far out you should get on your pan. DO MAKE SURE that it’s even though! If it’s thicker in the middle you’re in trouble when you go to eat it! haha 😀
7th: Bake in oven at 400F for 20-25 mins. It should be starting to brown around edges and pretty firm to the touch. Keep in mind that you’re going to put it back in for a few more minutes with the toppings on it! Pull out after the suggested time and sauce (or not..I put olive oil on mine) and top with whatever you fancy!
TIP: —>If you are going to put things like onion or peppers on it…that you should probably toss in a pan for a few mins just too partially cook. (They wont cook in the 5 minutes you put it back in the oven for). Essentially you’re putting it back in to melt the cheese on top that you use!
Here are two finished versions..I preferred the 2nd slightly more “done” crust 😀 ENJOY!! ——>Don’t forget to SHARE if you love it too!!


